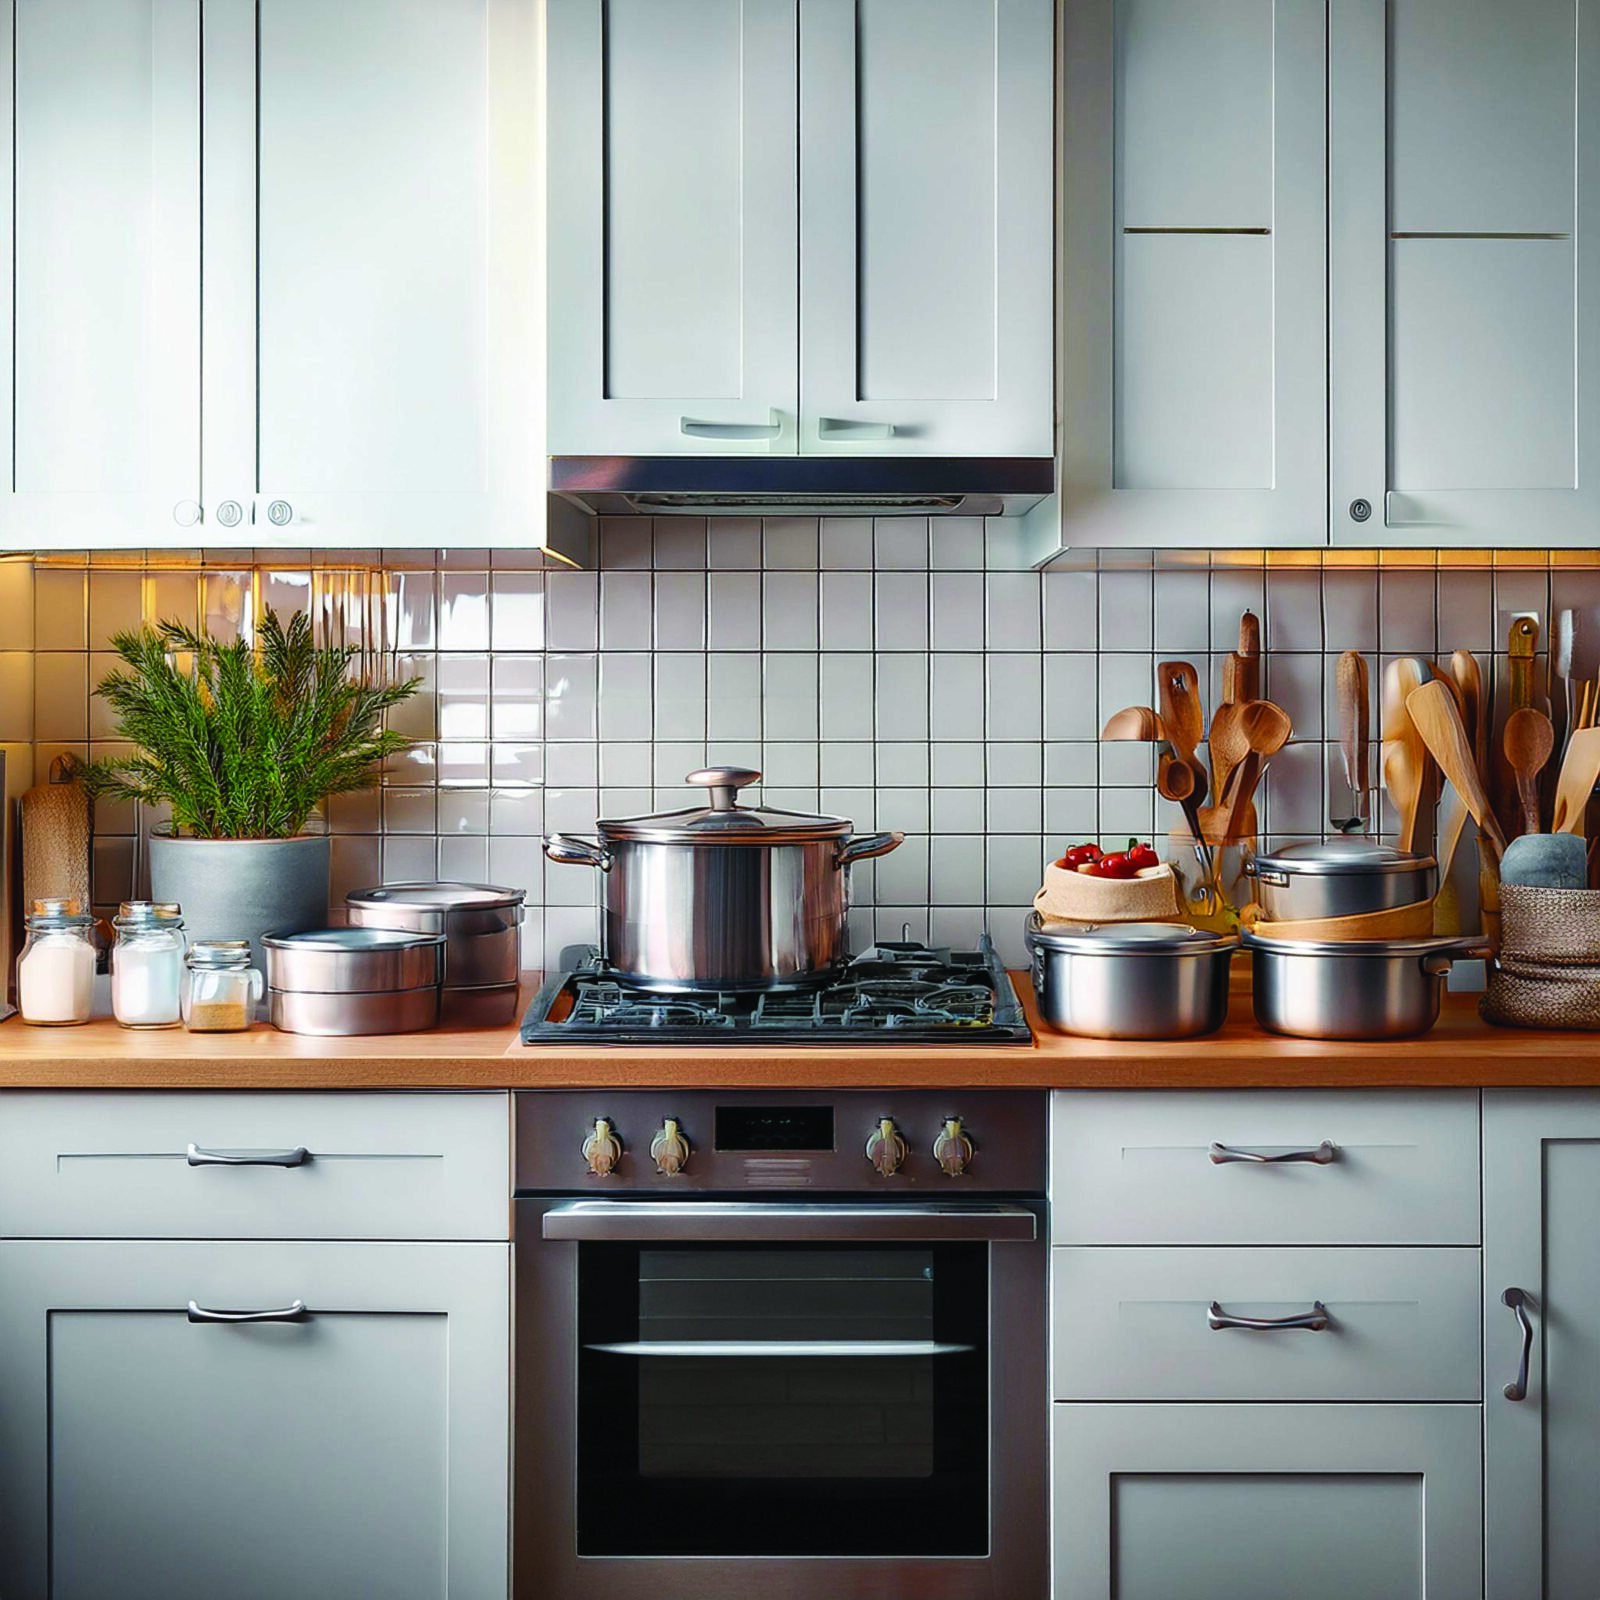
DIY Drawer Dividers for a More Organised Kitchen
If your kitchen drawers are a chaotic mess of utensils, gadgets, and tools, you’re not alone. Kitchen drawers tend to become catch-alls for everything from measuring spoons to bottle openers. Fortunately, DIY drawer dividers are a simple, cost-effective solution that can transform your kitchen into a more organised and efficient space. With a few materials and tools, you can create custom dividers tailored to fit your drawers and items perfectly.
In this guide, we’ll provide detailed step-by-step instructions on how to make drawer dividers, explore materials you can use, and share tips for maximising their functionality.
Why DIY Drawer Dividers?
DIY drawer dividers offer several advantages over store-bought options:
- Customisation: You can design them to fit your specific drawer dimensions and items.
- Cost-Effectiveness: DIY options are usually cheaper than pre-made dividers.
- Sustainability: You can repurpose materials like cardboard, wood scraps, or foam board.
- Ease of Installation: No complex tools or expertise required.
Materials You’ll Need
Depending on your preferred style and materials, here are some common items you’ll need for your DIY project:
For Basic Cardboard Dividers
- Sturdy cardboard or foam board
- Ruler
- Box cutter or craft knife
- Pencil
- Hot glue gun (optional for reinforcement)
For Wooden Dividers
- Thin plywood or balsa wood sheets
- Saw or jigsaw
- Sandpaper
- Wood glue
- Measuring tape
For Adjustable Dividers
- Tension rods (small ones designed for drawers)
- Adhesive-backed felt or rubber (to prevent slipping)
How to Make DIY Drawer Dividers: Step-by-Step
We’ll cover two popular options: cardboard dividers (a budget-friendly choice) and wooden dividers (for durability and aesthetics).
Option 1: Cardboard Dividers
Step 1: Measure Your Drawer
- Remove everything from the drawer.
- Use a measuring tape to note the drawer’s internal dimensions: length, width, and height.
Step 2: Plan Your Layout
- Decide how many sections you need.
- Sketch the layout, ensuring each compartment suits the size of your items (e.g., a narrow space for knives, a wider one for ladles).
Step 3: Cut the Cardboard
- Using a ruler and pencil, mark the measurements on the cardboard.
- Cut pieces for:
- Long dividers (length of the drawer)
- Short dividers (width of the drawer)
- For interlocking sections, cut notches halfway through each piece at the points where they intersect.
Step 4: Assemble the Dividers
- Slot the notched pieces together to form a grid.
- Place the assembled grid inside the drawer.
Step 5: Secure (Optional)
- If needed, use a hot glue gun to attach the dividers to the drawer base for added stability.
Tips for Cardboard Dividers:
- Cover the cardboard with decorative paper or contact paper for a polished look.
- Reinforce edges with tape to improve durability.
Option 2: Wooden Dividers
Step 1: Measure and Plan
- Empty your drawer and measure its internal dimensions.
- Sketch a layout for your dividers, ensuring each section fits the intended items.
Step 2: Cut the Wood
- Use a saw to cut thin plywood or balsa wood sheets to size:
- Long pieces for the drawer’s length
- Short pieces for the drawer’s width
- For interlocking dividers, cut shallow notches in the wood where the pieces will intersect.
Step 3: Sand the Edges
- Smooth all edges with sandpaper to prevent splinters.
Step 4: Assemble the Dividers
- Slot the wood pieces together to form a grid.
- Apply wood glue at the intersections for added sturdiness.
Step 5: Fit the Dividers
- Place the completed divider inside the drawer. Make minor adjustments if necessary.
Tips for Wooden Dividers:
- Stain or paint the wood to match your kitchen’s aesthetic.
- Add felt padding to the bottom edges to protect your drawer’s surface.
Option 3: Adjustable Dividers
For those who prefer flexibility, tension rods or modular dividers are great options:
- Tension Rods: Place small tension rods horizontally or vertically inside the drawer to create sections.
- Expandable Plastic Dividers: Many adjustable divider kits are available online and require no cutting or glue.
Maximising the Effectiveness of Drawer Dividers
- Group Similar Items: Store like items together (e.g., all spatulas in one section, measuring spoons in another).
- Use Labels: Add labels to each compartment for easy identification.
- Keep Frequently Used Items Accessible: Place your most-used tools in the front compartments.
- Regularly Declutter: Periodically assess and remove items you no longer need.
DIY Drawer Divider Ideas for Specific Uses
- Utensils: Use long, narrow sections for knives and spoons.
- Spices: Create a grid for small jars or bottles.
- Pantry Items: Divide drawers into larger sections for bags of flour, sugar, or snacks.
- Junk Drawer: Make small compartments for batteries, pens, and other miscellaneous items.
Why Drawer Dividers Improve Your Kitchen
Drawer dividers aren’t just about tidiness—they also enhance the functionality and aesthetics of your kitchen:
- Efficiency: Quickly find what you need without rummaging.
- Space Optimisation: Maximise every inch of your drawers.
- Stress Reduction: A clean, organised kitchen fosters a sense of calm.
- Custom Solutions: Tailor dividers to your specific storage needs.
Conclusion
DIY drawer dividers are an easy and rewarding weekend project that can revolutionise your kitchen. Whether you choose simple cardboard dividers or opt for sturdy wooden ones, these organisers will bring order to your chaotic drawers.
By following the steps outlined in this guide, you’ll be able to create custom solutions tailored to your space and needs. Best of all, you’ll enjoy the satisfaction of a cleaner, more functional kitchen—and the pride of knowing you made it yourself. Happy organising!


Leave a comment